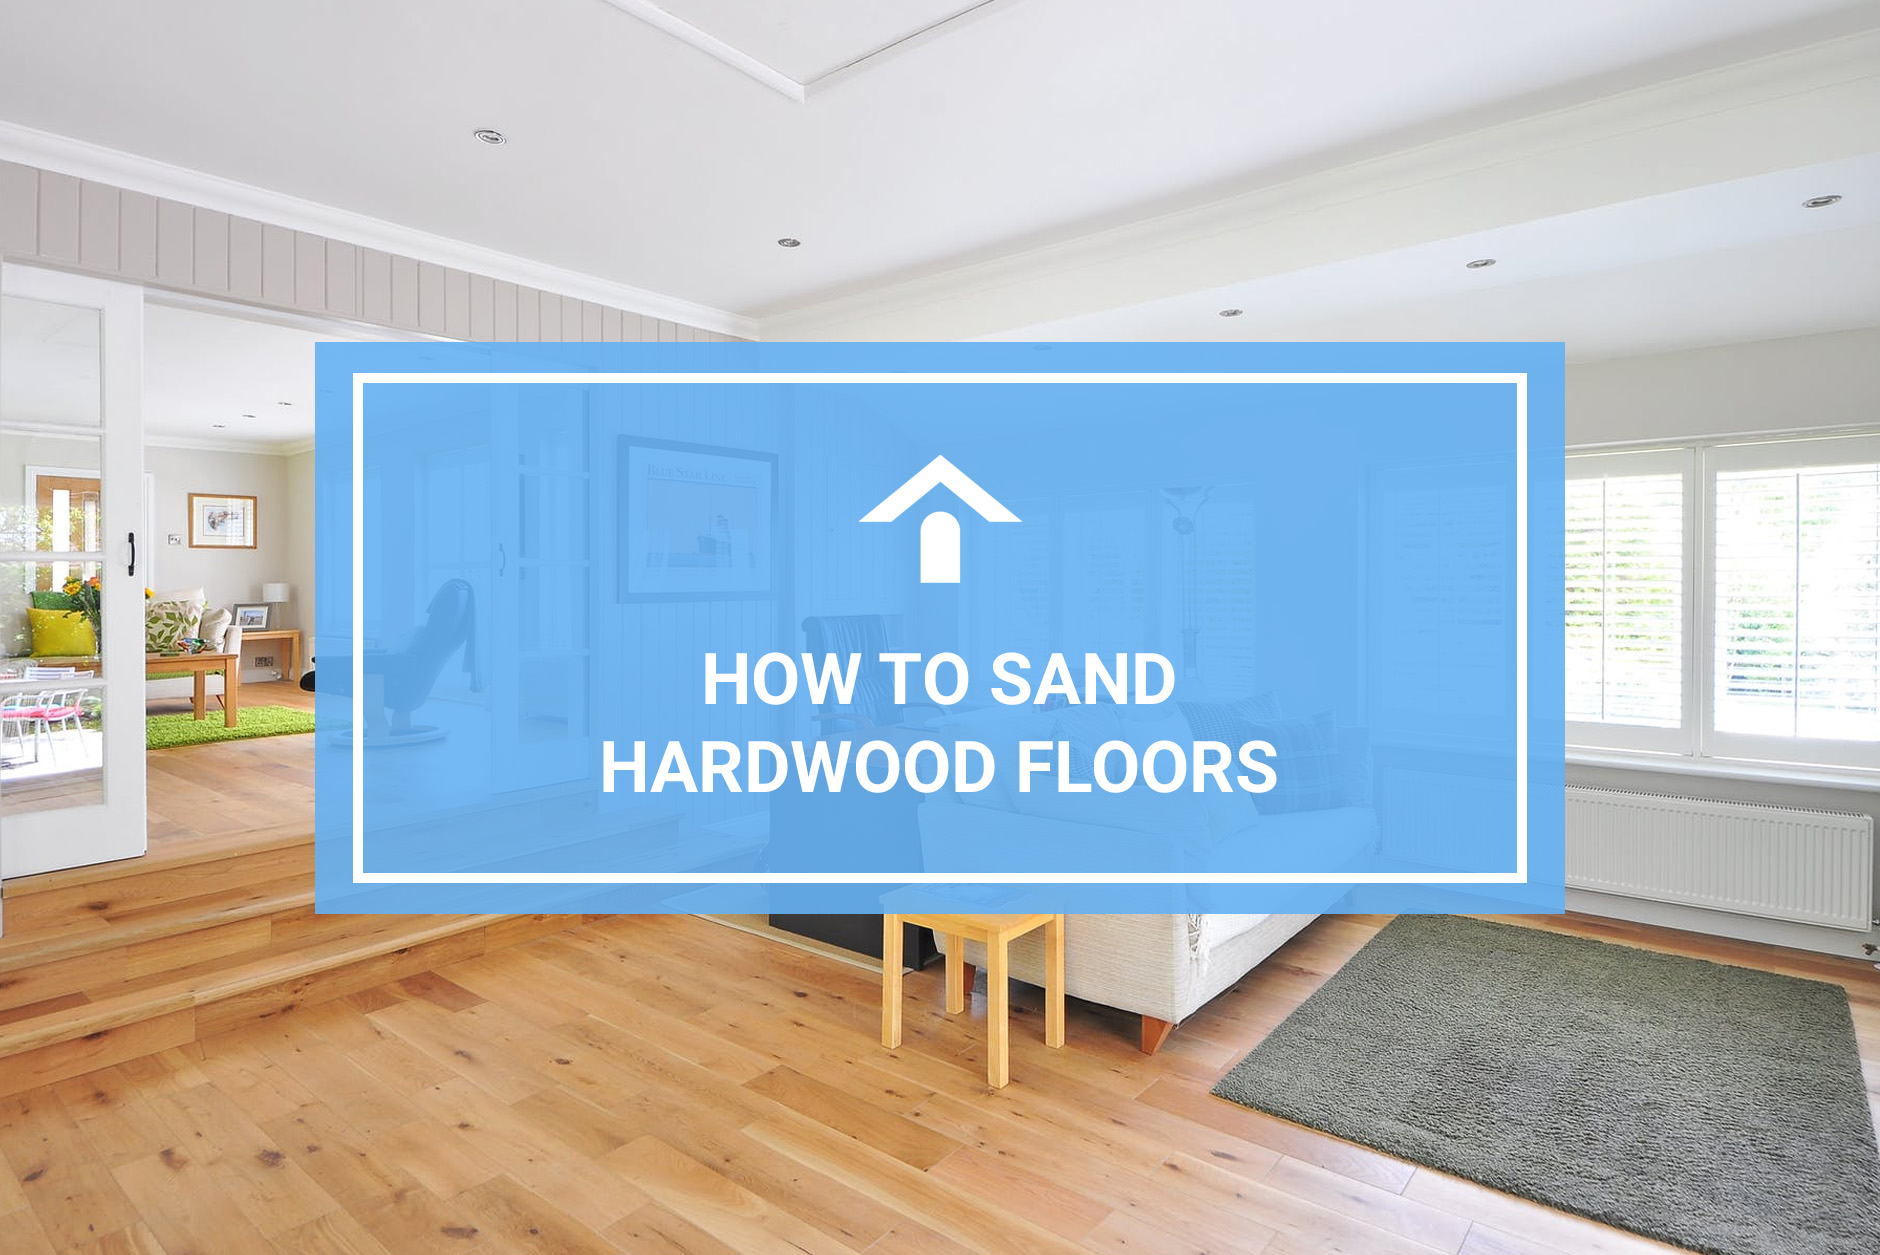

Do you have hardwood floors that need to be sanded? Are you unsure of where to start? Don’t worry, we’re here to help! In this blog post, we will provide a step-by-step guide on how to sand your hardwood floors. We’ll also provide some tips and tricks that will make the process easier for you. So, if you’re ready to learn how to sand your hardwood floors like a pro, keep reading!
What You Can & Can’t Sand Out Of Wood
There are some stains that can be sanded out of wood and there are some that cannot. If the stain is recent, then you have a better chance at removing it. If the stain is older, then it will be harder to remove.
You can sand out most water-based stains with ease. However, oil-based stains are a different story. These types of stains tend to penetrate the wood grain and become embedded in the surface. As a result, they are much harder to remove.
Trying to remove urine stains caused by pets is usually a lost cause. The urine penetrates so deep into the wood that it’s often impossible to sand out. You may be able to use bleach formulated for wood floors to clean the stain, but results can be mixed. Often the only way to remove pet stains is to replace the wood entirely.
Preparing The Floors For Sanding
Sanding your floors can be a daunting task, but it’s well worth the effort. Make sure to prepare your floors properly before you start sanding to ensure the best results. Here are some tips on how to do just that:
- Remove all furniture and other objects from the room.
- Vacuum or sweep the floors thoroughly to remove any debris or dust.
- Hammer down any protruding nails to prevent them from snagging on the sanding belt.
- Seal all air vent covers in the room to keep dust and debris from getting into the air ducts.
Pulling Up The Shoe Base Molding
There are a few reasons why you might want to pull up the shoe base molding before sanding your floors. First, if there is any damage to the molding, it will be easier to fix it once it’s been removed. Second, removing the molding will give you more access to the floor so that you can sand it more thoroughly. And finally, removing the molding will make it easier to put new molding back in place once the floors are finished.
To remove the shoe base molding, start by prying off any trim pieces that may be covering it. Then use a screwdriver or chisel to loosen the nails or staples that hold the molding in place. Be careful not to damage the flooring while you’re doing this. Once the molding is loose, you can pull it up and remove it from the room.
Rough Sanding The Floors
After the floors are prepped and the shoe base molding has been removed, it’s time to start sanding. The first step is to use a coarse grit abrasive with your sander to remove the finish. 36 grit is usually a good starting point.
You’ll want a drum sander or a belt sander with sanding belts designed for wood to sand the flooring. This equipment can be quite expensive to buy. You can likely find rental floor sanding equipment at a local hardware store near you. Once you acquire the equipment, you’ll feed the sander slowly across the floor, always going in the same direction with the grain of the wood. Avoid going over the same spot too many times, or you’ll create divots in the wood.
Once you’ve gone over the entire floor with the coarse grit paper, switch to a medium grit (around 60 grit) and repeat the process. Be sure to overlap your strokes slightly so that you don’t leave any patches of untreated wood. You’ll then want to repeat for a third time with a finer grit (about 100 grit).
You’ll likely need to replace your sanding belt every 250 square feet for the best results. You’ll also want to make sure that you’re sweeping and dusting between after sanding at each grit to prevent debris from clogging your abrasive.
Sanding The Edges & Corners
When sanding the edges and corners of wood floors, you’ll need a floor edger or orbital sander. You’ll want to use a finer grit than what you are using on the rest of the floor (80 to 100 grit is usually good). This will help create a smooth, uniform finish. Be sure to take your time and go slowly so that you don’t damage the surface of the wood. You can also use a corner sander for this task.
Once you’re finished sanding, vacuum up all of the dust and give the floor another sweep before screen sanding.
Screen Sanding The Floor
Screen sanding will help you make sure that your floors are as even as possible. When screen sanding a hardwood floor, you will need to use a floor buffer. The screen should be attached to the buffer using an adapter. Make sure that the screen is tight against the adapter so that there is no slack.
To start, make sure that the buffer is turned off and unplugged. Slide the screen onto the adapter and then plug in the buffer. Turn on the buffer and adjust the speed to medium-high. Hold the buffer flat against the floor and slowly move it back and forth across the surface of the floor. Be careful not to go too fast or you could damage the flooring.
Dust Removal
Removing all the dust after sanding your hardwood floors is a crucial step in achieving a beautiful finished product. Here are some tips for doing just that:
- Use a shop vac with a crevice tool to clean up the edges and corners of the room.
- Go over the entire floor with a vacuum and broom to get rid of any remaining dust.
Applying Stain & Finish
Typically, floors are sanded for refinishing. Staining and refinishing your floors will be the last step in the project. You will need to purchase a good quality finish, such as polyurethane or lacquer.
The first step is to stir the stain well before using it. Be sure to test the stain on an inconspicuous spot of flooring to make sure you like the color. Next, use a paintbrush or roller to apply the stain in even strokes across the entire surface of the floor in the direction of the wood grain. Allow adequate drying time according to manufacturer’s instructions – usually 24 hours.
After the stain has dried, apply at least two coats of finish, allowing each coat to dry thoroughly before applying the next one. A high-quality finish will help protect your floors from scratches and other damage.
Should You DIY Or Hire A Pro For Wood Floor Sanding & Refinishing?
The answer to this question depends on a few factors, including your level of experience, the condition of your floors, and how much time you have.
If you’re inexperienced or don’t have the time to do it yourself, hiring a professional is definitely the way to go. However, if you’re confident in your abilities and have some free time on your hands, DIYing the project can save you some money.
Just be sure to properly research the process and prepare for potential challenges ahead of time. Sanding and refinishing floors can be tricky, but with a little bit of effort you can achieve great results!