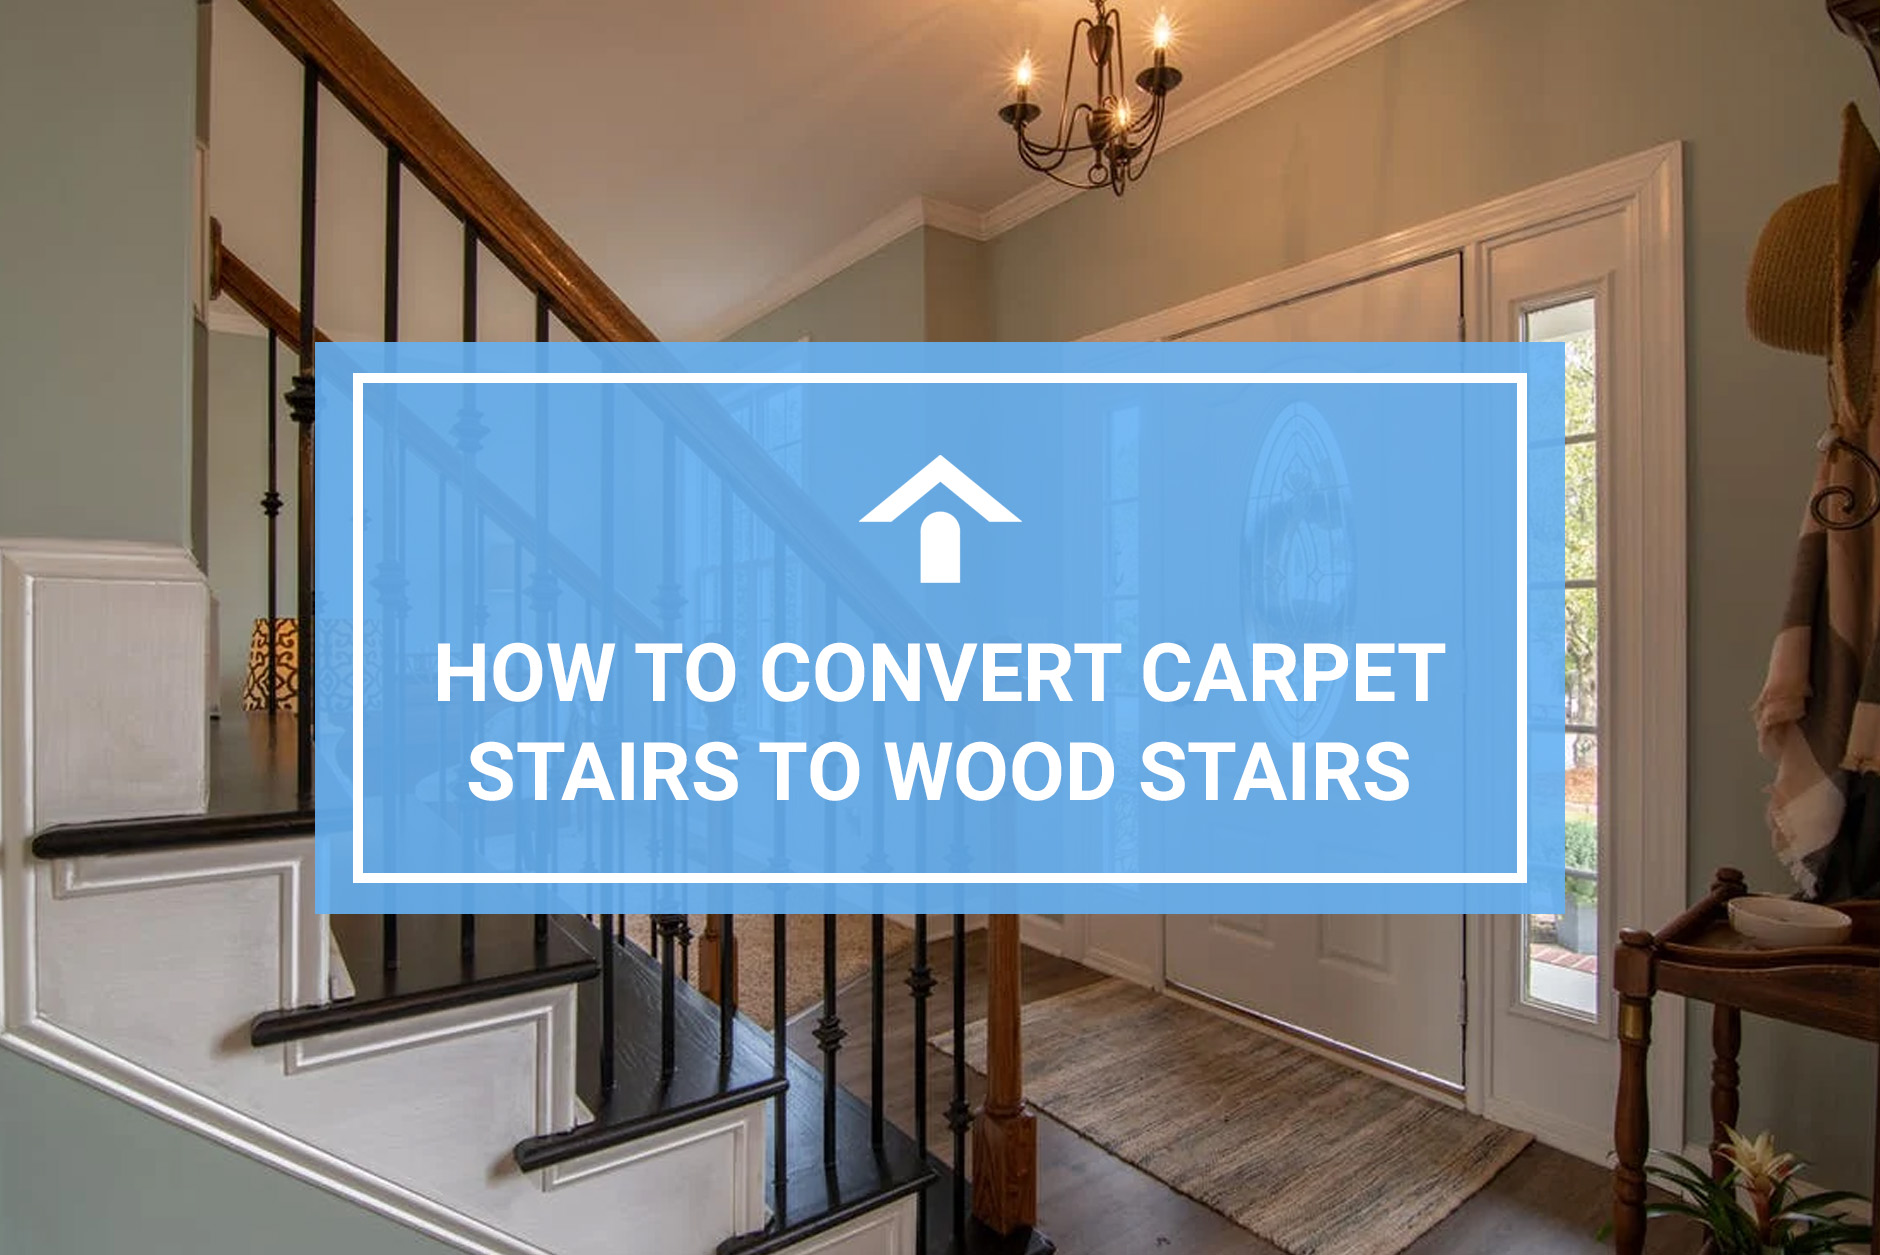
Preferences change. What’s in style shifts. And, most importantly, carpet ages. What used to be a lovely carpeted staircase is now an eyesore that hurts your opinion of your entire home.
But you don’t have to live with carpet stairs if they aren’t working for you. And no, you don’t have to replace your staircase, either. In most cases, you’ve got the makings of a beautiful set of hardwood stairs sitting just beneath that shaggy outer layer of carpet.
Now, all you have to do is bring out your carpeted stairs’ inner beauty. And this article will tell you exactly how to do that. Here’s how to convert carpet stairs to wood stairs.
How Much Does It Cost to Convert Carpet Stairs to Wood Stairs?
Before you break out the stains and sanders, you’re going to need to make sure that this is a project your home improvement budget can handle. But to get an accurate estimate of how much it costs to convert carpeted stairs to wooden stairs, you’re going to need to know a little bit about what you’re dealing with.
For example, if there really are beautiful wooden treads underneath that stained and dingy carpet, you’re going to spend a lot less than you would if you had to replace existing treads with wooden treads.
If you already have the wood treads, you can reasonably spend under $150 on materials for this project. However, if you are paying for treads, you should expect to pay much more — somewhere between $20 and $160 per tread based on quality, thickness, and wood type.
Keep in mind that these price estimates are for the DIY approach to replacing carpeted stairs with wood. If you hire a carpenter or other home professional for the job, you could easily spend more than $2,500 on the project.
Tools and Materials You Will Need
If you’ve ever done a DIY home repair or renovation job, you already know that the best approach is always to have all of your tools and materials in front of you before you start working. Here are the tools and materials you will need to replace your carpet stairs with gorgeous hardwood
Tools for Carpeted Stair Replacement
Assemble and purchase these tools before you begin the project:
- Cleaning gloves
- Respirator
- Eye protection like safety goggles
- Ear protection (if you will use power tools)
- Sturdy work gloves
- A foam brush
- Nail gun
- Table saw
- Tape measure
- Utility knife
- Jigsaw
- Pry bar
- Pliers
Materials for Installing Hardwood Stairs
With your tools assembled and organized, you’re ready to get your stair replacement materials in order:
- Stair treads (if you plan to replace existing treads)
- Stair risers (if you plan to replace existing risers)
- Clean rags
- Nails
- Oriented strand board
- Stain
- Sealer
- Construction adhesive
Converting Carpet Stairs to Wood Stairs: 10 Simple Steps
This may look like a big job before you begin, but it’s really not that bad when you have the steps to get the job done laid out in front of you like the beautiful new staircase you’re envisioning.
Here are 10 simple steps to convert carpet stairs to wood stairs:
1. Strip the Carpet from the Stairs
Step one is getting the carpet off of the stairs, so this project starts out with a bang. Use your utility knife to cut lengths of carpet, and pry it up in difficult places with your pry bar. Be extremely careful with the utility knife — both for your own safety and to avoid cutting or scratching the wooden treads under the carpet.
2. Take Out Nails, Staples, and Tack Strips
Get rid of the carpet pad and carpet you’ve just pulled from your stairs, and follow up with the pry bar and pliers to remove any visible tack strips, staples, or nails. Be thorough here — you don’t want a nail or tack causing an injury later on.
3. Cut Off Any Stair Nosing and Fill in Holes
Take a look at the newly exposed wood on your stairs. Do you see any holes? If so, fill them with wood filler or putty.
And if you are planning to place new wooden treads on your stairs, look for any nosing on the existing wood. Nosing is the overhand of the old tread that goes slightly over the next stair down. You don’t have to pull up the old tread to get rid of this. All you have to do is cut off any nosing you see with a saw.
4. Get the Measurements
With any nosing removed from the treads, you’re now ready to measure the tread tops and risers (the vertical boards at the back of each step) to ensure you install the correct size of wood tread. Remember — this step only applies if you are installing new treads and not using the existing ones.
5. Cut the Risers
Like the last step, this one only applies if you are replacing the risers that were under the carpeted parts of the stairs. If the existing risers are wood and appear to be in good condition, you don’t have to replace them.
However, if you are going to replace the risers as you convert your carpet stairs to wood stairs, you will have to measure new risers very carefully. Measure with precision, and cut risers that will fit squarely onto the steps of your beautiful new staircase.
6. Cut the Tread Caps
If you are not replacing the existing treads but want them to look nicer, consider adding tread caps. These wood pieces create a visually pleasing lip on the front of each stair tread.
To add tread caps to your stairs, cut the caps to the precise measurement of the width of each tread. Using construction adhesive, affix the tread caps to each tread. Finish the job with nails at either corner of each tread cap to ensure they never move and cause someone to trip.
7. Affix the Edge Moulding
You don’t have to include edge moulding on your new staircase, but it can certainly add a lovely visual touch to the final product. Unless you’re a carpenter who can make your own, you will probably need to purchase prefabricated edge moulding and affix it to the stairs.
To do that, use construction adhesive and a nail gun to firmly attach the moulding with no leaning or other imperfections.
8. Get the Tread Size
At this stage, you’re ready for what might be the most involved step: Adding new treads to the staircase. This is an optional step, depending on whether you want to replace the existing treads with a higher-quality wood.
If you do want to replace the treads, re-measure the treads to ensure you have accurate measurements and none of the preceding steps have altered the final measurements. With tread measurements in hand, use a table saw to cut the new treads to the exact size to fit your staircase. The new treads can be installed directly over the existing treads in many cases.
9. Stain and Paint Your New Hardwood Stairs
Most people do not want to paint their brand-new hardwood stairs, but it’s possible that you may want to do so if you didn’t replace the treads and there are some unsightly imperfections in the existing wood. If you do want to paint your hardwood stairs, this is the time to do it.
However, you’re more likely going to want to stain your new wood stairs to highlight the natural beauty of the wood. Whether you’re going to stain or paint your new stairs, begin by sanding down any existing imperfections before applying the first coat. After the coat of stain, you can add a clear coat to give the stairs a little extra shine.
10. Wait a Minute
At this stage, it’s understandable to be excited to take your new staircase for a test drive, but that would be a mistake. You need to give the stairs time to dry and settle — around 24 hours of time, if possible. So, seal off the stairs with a baby gate or similar barrier and muster the patience to wait for a day before unveiling your newest DIY achievement.
Should You Hire a Professional to Convert Your Carpeted Stairs to Wood?
They may just be used for transit from one floor to another, but the stairs in your home are one of the most highly trafficked and most often seen parts of the entire property. You, your family, and guests in your home will notice your stairs for better or worse.
Hopefully, it will be for the better after you have removed the unsightly carpet from your stairs and replaced it with gorgeous wood. But keep this in mind: Mistakes in the conversion process can lead to wood stairs that are even less fun to look at than the original carpeted ones. And that’s not to mention the potential safety hazards of uneven or otherwise improper steps.
The point is not to scare you into not doing this. Rather, it is to encourage you to reach out to a professional if you doubt your ability to get this job done. There are plenty of handymen, carpenters, home remodelers, and other home service professionals who would love to create an unforgettable wooden staircase for your home for a reasonable price, so don’t hesitate to hire a professional when you think you need one.


